
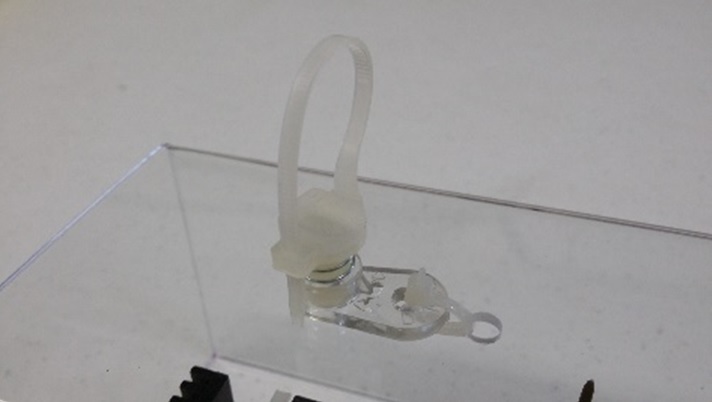
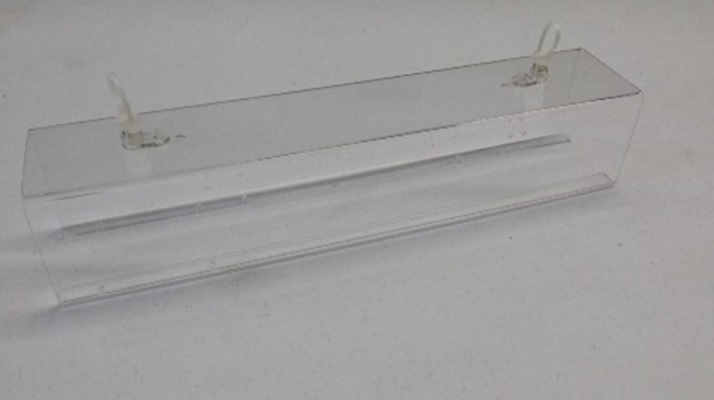
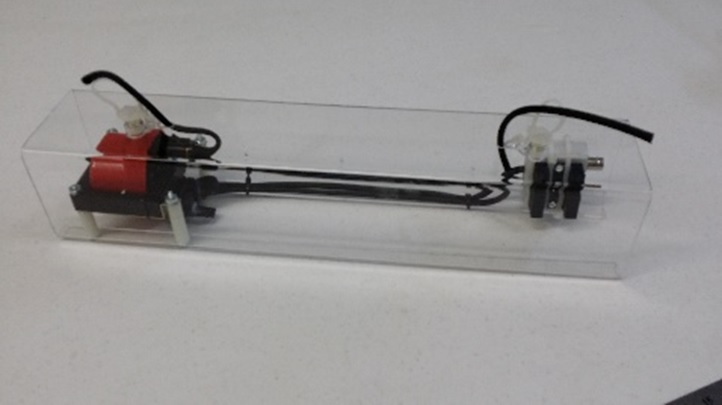
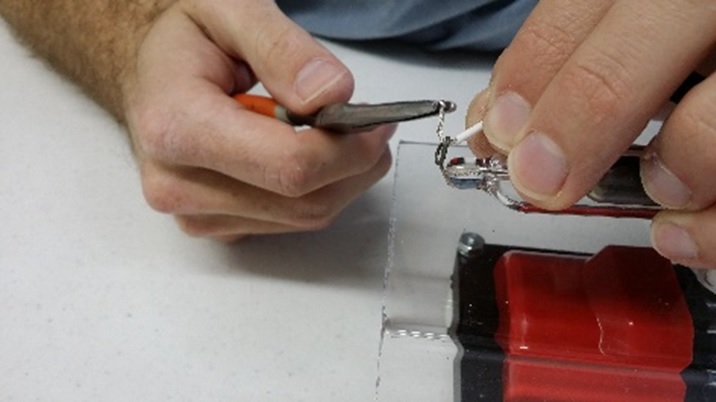
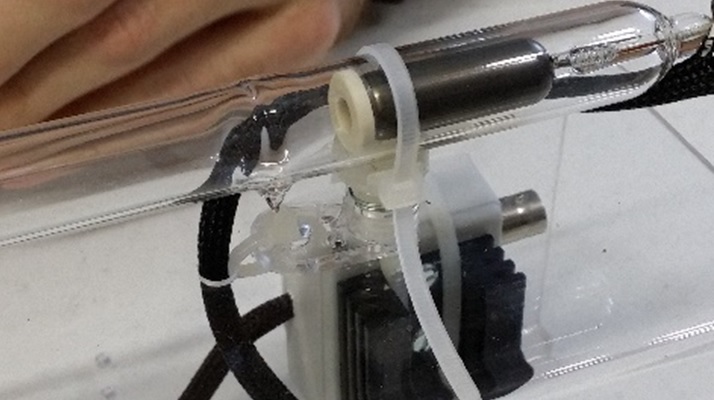
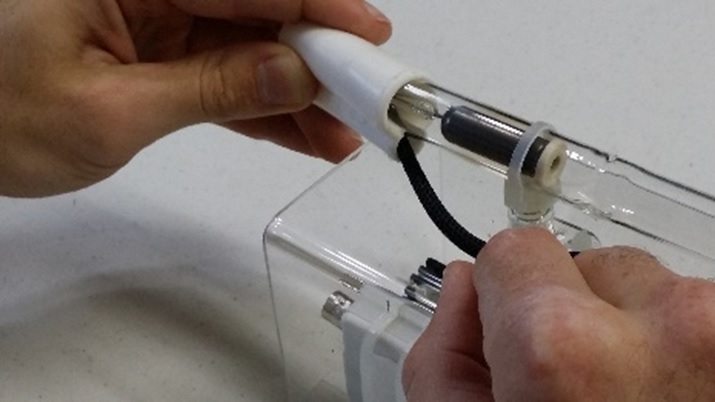
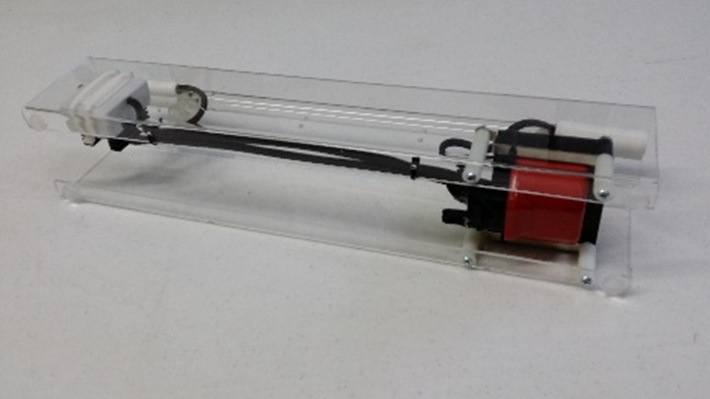
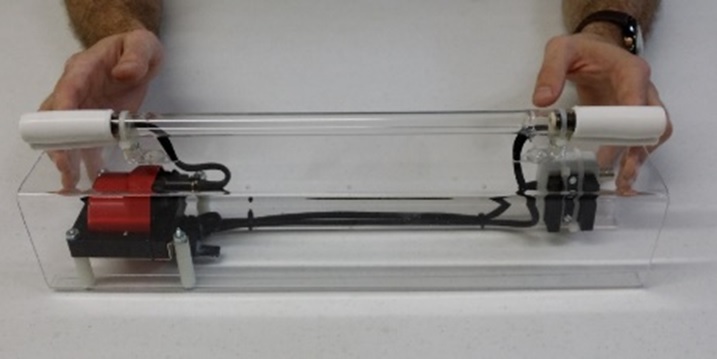
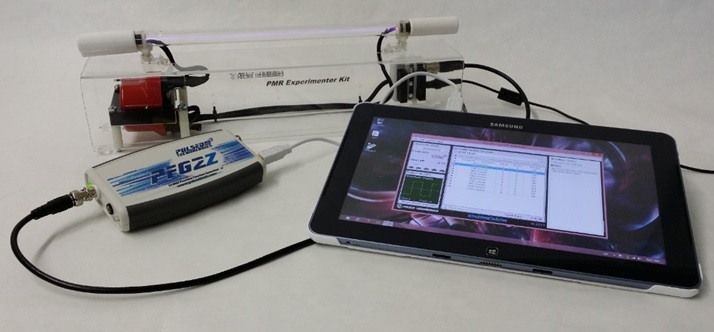
The original “Poor Man’s Rife Plasma Project” done years ago has been requested by users over and over as a gateway tool to better learn and understand the concepts and benefits of precision pulsed plasma (P3) technology. While these devices IN NO WAY significantly compare with ANY of today’s Pulse Technologies plasma devices, they definitely offer the user a very affordable hands on experience to better understand, recognize, and realize the potential of this continually developing area of study. What the questioner should be asking is “What is the Real difference and capabilities in this simple device and most of the other “available” Rife devices being marketed … regardless of price?” We believe you will be “SHOCKED” when you realize the answer! Part 4 of the Poor Man’s Rife Plasma Project is planned to discuss technical details and differences. In maintaining Pulsed Tech’s quality image, even with this modest design, we wanted to make available to users a very foolproof, simple yet elegant design second to none. We worked closely with European designers to provide a high quality proprietary custom quartz tube specifically for this modular electronics arrangement. The simplicity and practicality by design allows the user to focus on personal needs and use rather than technical construction. Modular design allows for fast, easy and affordable) replacement and customization by the user should the need arise. While the assembled kit ideally works with any of Pulsed Technologies PFG series of function generators, most off-the-shelf generators will likely work to varying degrees depending on their capabilities. Of special note to current or planned PFG owners, we will be including a new module within our PFG Lab software specifically for the experimenter kit tailored to provide extra protections for its specific operating ranges and to maximize its performance within those ranges. Full Credit: As part of the special arrangements made with Pulsed Tech (Europe) for making the Experimenter Kit available through their distribution channels, it has been agreed that the purchaser will have become, through assembly and hands-on use, an “educated consumer”. It has always been our belief that an educated consumer is the very best of consumers. For that reason, if any of the Experimenter Kit original buyers decide to later upgrade or purchase any of the Pulsed Technologies P3 series devices, (P3, P3+, or P3pro), you will receive full credit paid for the Experimenter Kit toward the purchase of any Pulsed Tech P3 instrument…. AND … you keep the Experimenter Kit to share with a friend! ______________________________________________ Warranty: As like most “kits”, the PMR HV Experimenter’s Kit comes with absolutely NO WARRANTY or claims, although each and every component is carefully checked and verified to be fully operated before shipping. Because of the intended “experimental environment” and various levels of knowledge and skill sets of the purchasers, it isn’t practical or feasible to warranty the device. This simple design however does allow for very affordable in-field repairs and Pulsed Tech will endeavor to keep all critical components in inventory should they be needed by owners at a future date. Remove protective plastic from parts and familiarize yourself with all basic components Affix Tube Mount to Enclosure with large Tie-Wraps Start Tube Mount Tie-Wrap (1 or 2 “clicks” ONLY!) Driver Module & HV Coil are Pre-Wired (and Pre-Tested) Slide HV Coil into position Use provided Screws, Washers, Nuts, and Spaces to mount as shown in following photos Note: innermost mounts require extra spacer on some coil assemblies. When possible, kits will utilize the black coil shown in this photo with the simpler/firmer mounting. Mount Electronic Driver Module aligning between holes as shown Affix snuggly with Tie-Wraps to enclosure as shown Route cables as shown and Tie-Wrap in place using holes on lower lip Route Tube electrodes wires through top of case as shown Carefully remove protective End Cap from Plasma Tube ends Carefully route Plasma Tube though loops on Tube Mounts. Carefully retract mesh sleeve to expose stripped Electrode Wire. Firmly but delicately attach wires to tube electrodes on end of tube Position and Center tube on assembly. Snug up the incorporated Tie-Wrap to firmly hold tube in place Holding wire in place, replace End Cap over tube and electrode Note: Fragile Tubule should be pointed DOWN for best protection Clip off excess Tie-Wrap from Tube Mount Apply adhesive Rubber Feet to bottom lip of unit (as shown) Finished! Time to connect power, signal and give it the “Smoke Test” PART 1 of 4 Poor Man’s Rife Plasma Project (PART 1 of 4) (and the PMR-HV Plasma Experimenter Kit) Part 3 of 4 Operating the Plasma Experimenter’s Kit Video explaining Connection to PFG Part 4 of 4 Technical Differences of DevicesPictorial Assembly Guide
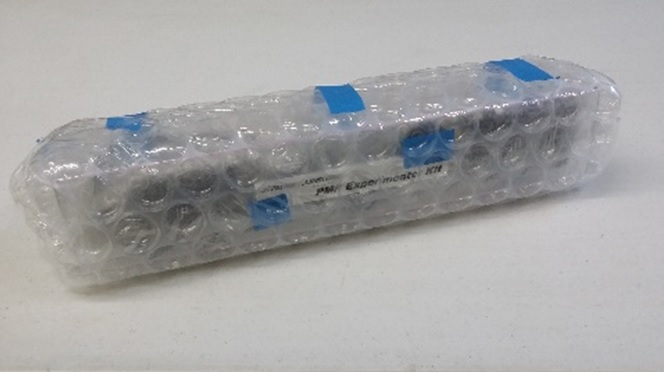
PMR Experimenter Kit Assembly
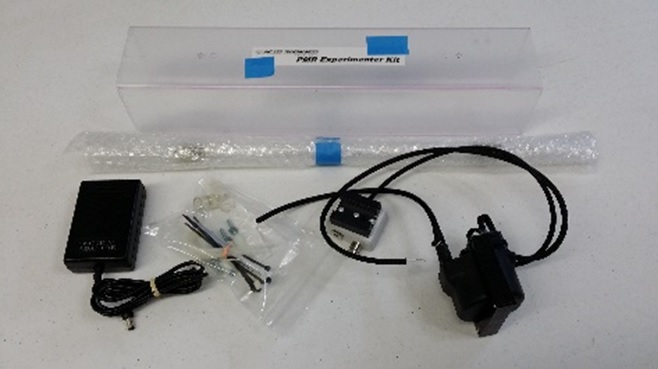
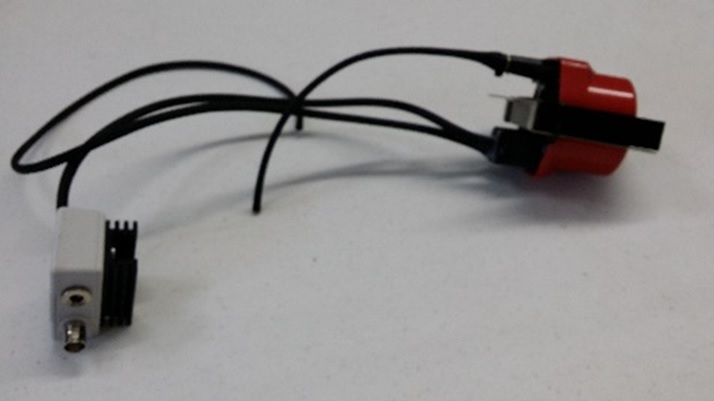
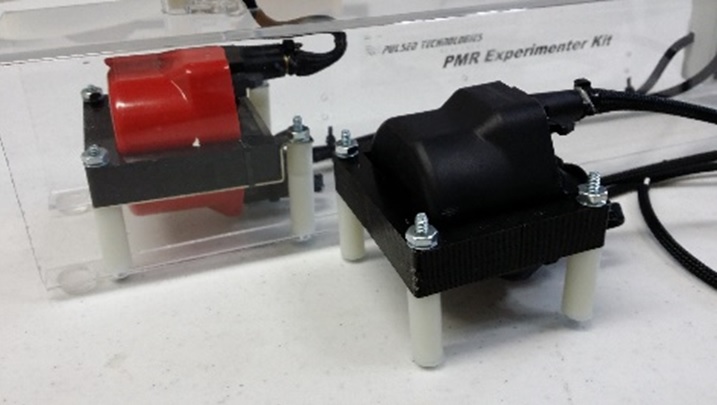
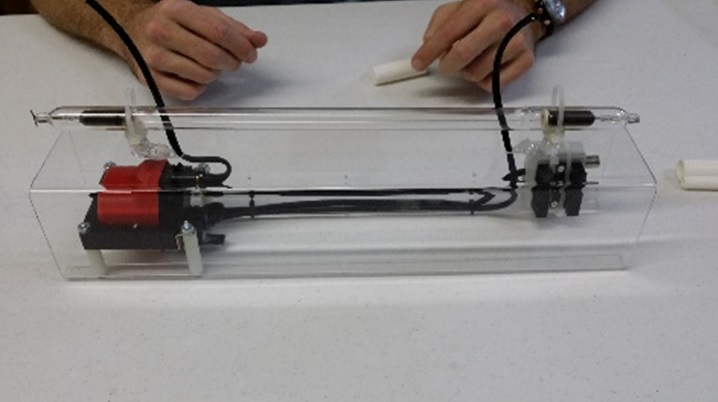
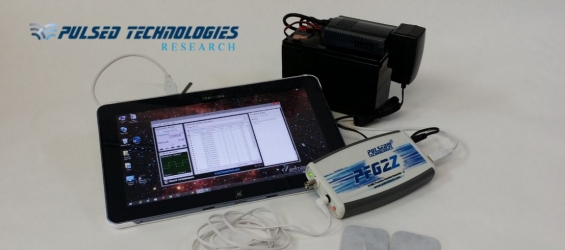
Experimenter Kit Components
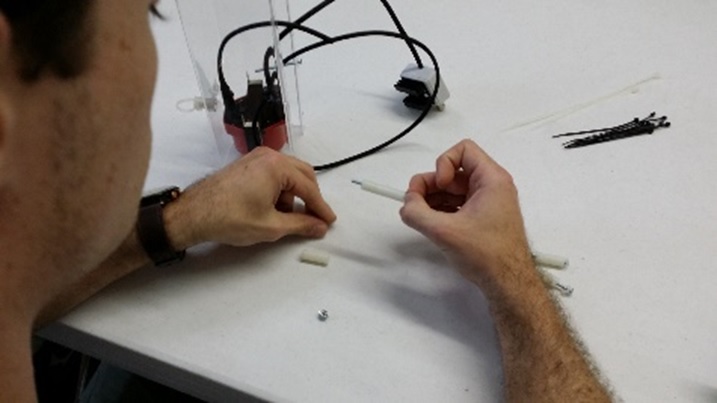
Tube Mounts

Electronices Modules
HV Coil Mounting
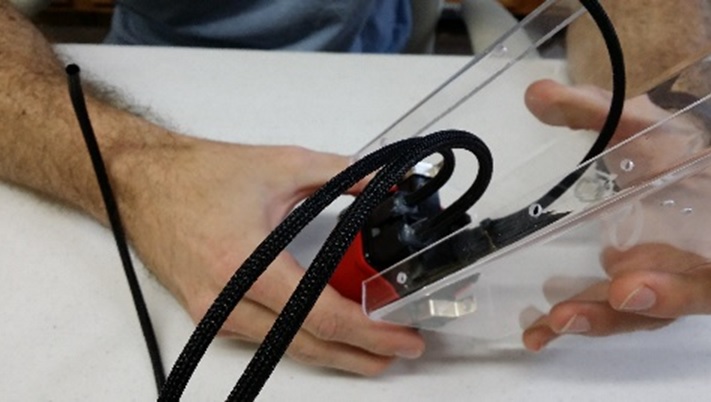
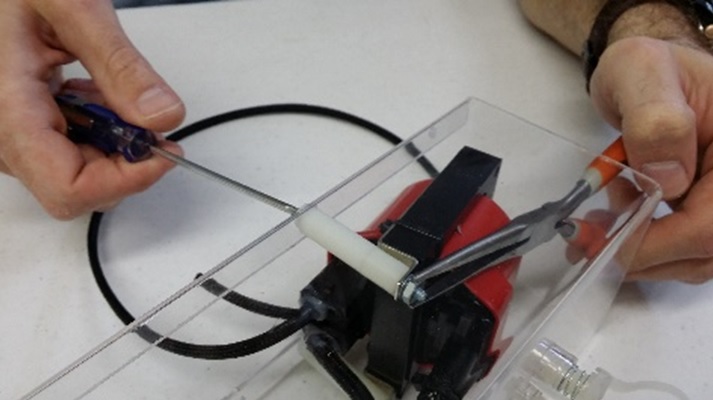
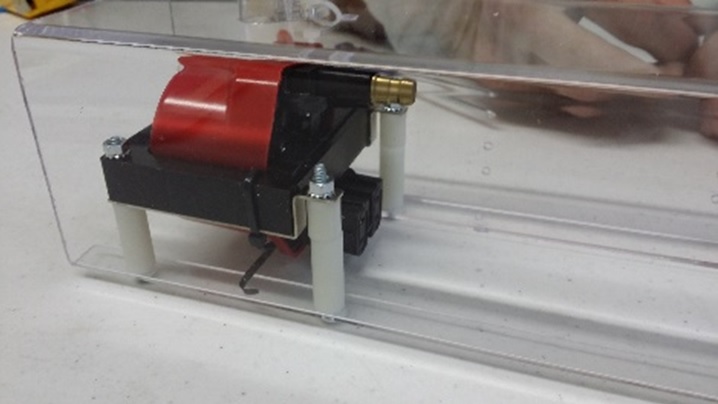
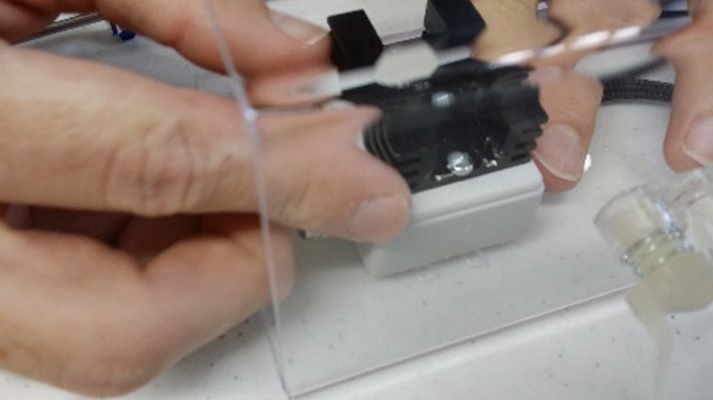
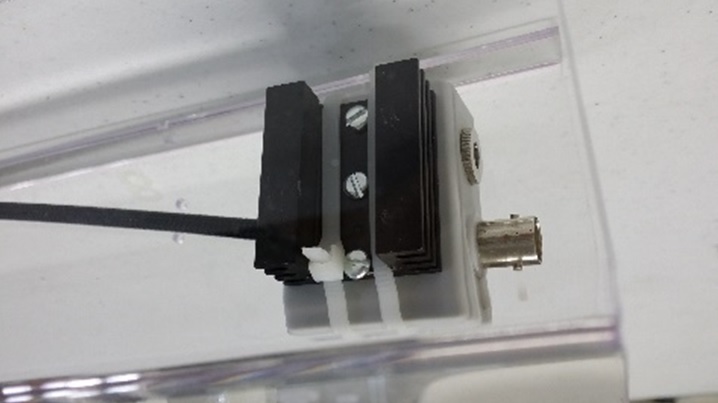
Driver Electronics Mounting
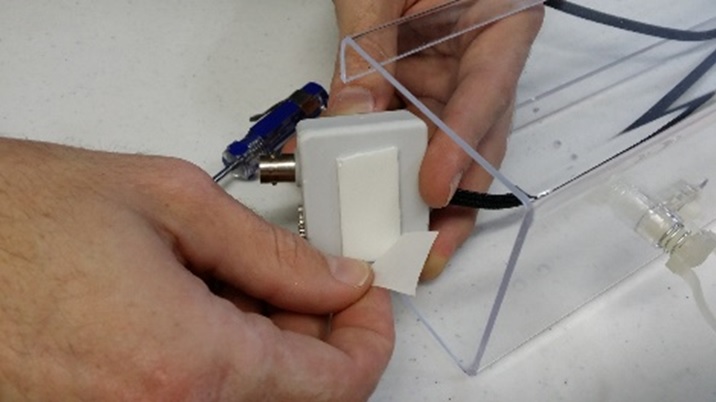
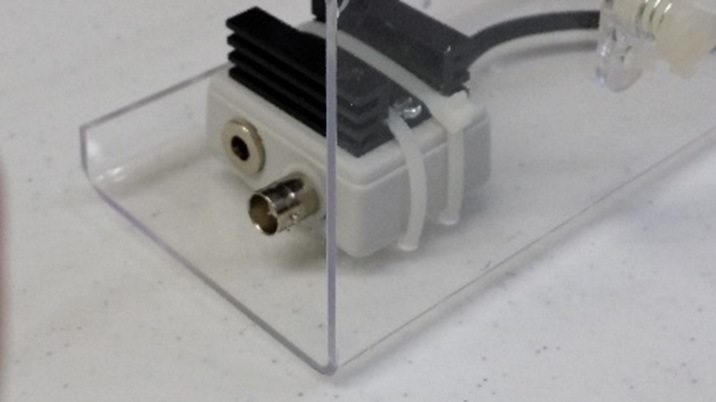
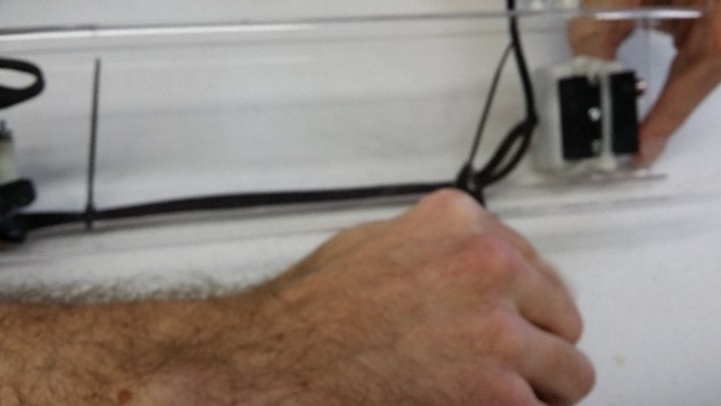
Cable Routing & Tie-Down
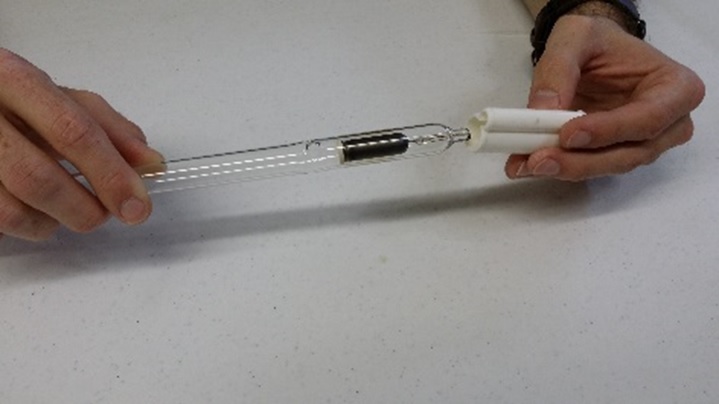
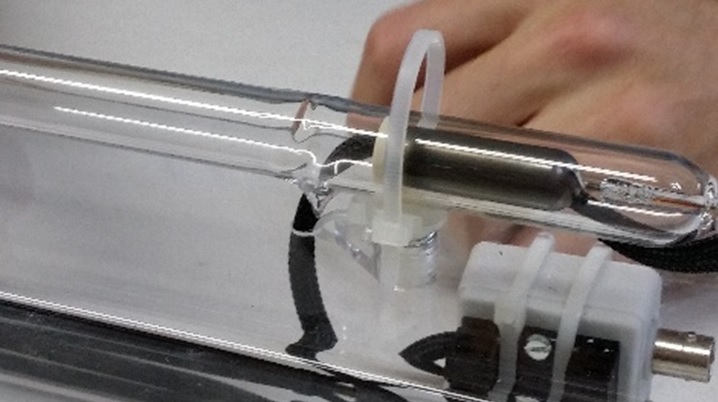
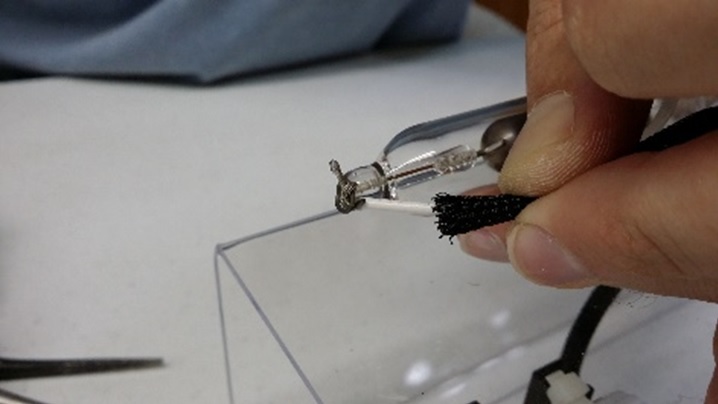
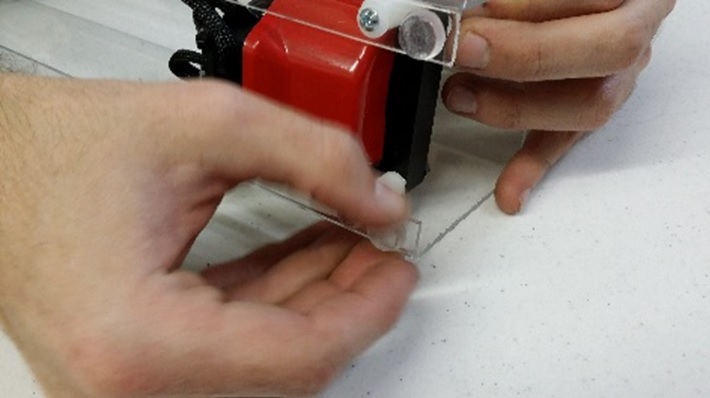
Tube Mounting & Connection
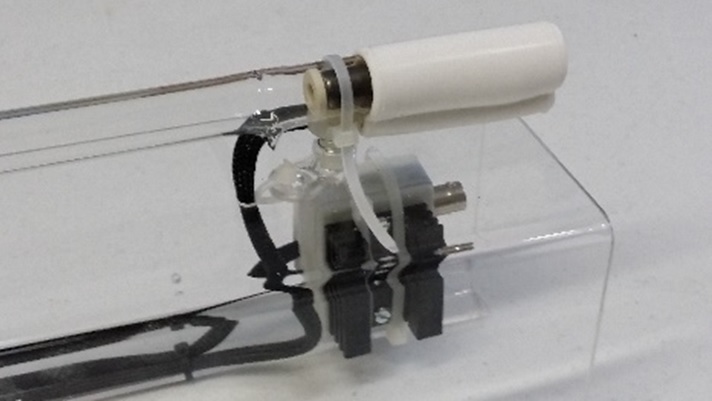

Feet Installation
Download Experimenter Kit Assembly Instructions


Pretty great post. I simply stumbled upon your blog and wanted to
say that I’ve really enjoyed browsing your blog
posts. After all I’ll be subscribing on your feed and
I hope you write again soon!
Vеry good article. I cеrtainly love tɦis site.
Continue the goߋd woгk!